Showing posts with label tutorial. Show all posts

How to Embed .SWF Files in your Blog

10:27 PM

Here's a simple way to embed an .swf file in your blog like the one I did below. The best browser for this is Google Chrome.


1. First, you have to upload it in a flash hosting site like swfme.com.

2. Click "Choose file" and locate your file. Then click "Upload SWF".

3. Now you can see your .swf file in action. Next, right click somewhere in the background, and click "Inspect Element".

4. In the bottom part of the screen you can see the codes like the one below. Click the triangle like the one highlighted below to open the code.

5. Click further more like the one shown below.

6. Finally, you should have the line starting with "object classid.."

7. Then, you can paste the code in you blog. You can change the numbers for height and width that suits your layout. And, make sure you're editing it in HMTL mode or else only the code will appear instead of the .swf file. Hope this helps! :D

Digital Art: Natural Abstract Portrait

11:35 PM
I made this months ago when my sister asked to edit her photo following this certain tutorial. I was lousy following each and every step so i made my own interpretation of the tutorial. Here's the before and after:


Cool eh?!
Stock images and brushes from google and deviantart resources. Sorry i failed to take note who owns which.

8-Bit Me!

1:17 AM
I was inspired to make my own 8-Bit avatar from the 2-tweet tutorial of Signalnoise. Here's my own 8-bit version of my last profile pic in facebook. :D


Cool right!? so make your own now! Check out the twee-torial below or check out the original post here.

Planet Photography Tutorial

10:31 PM
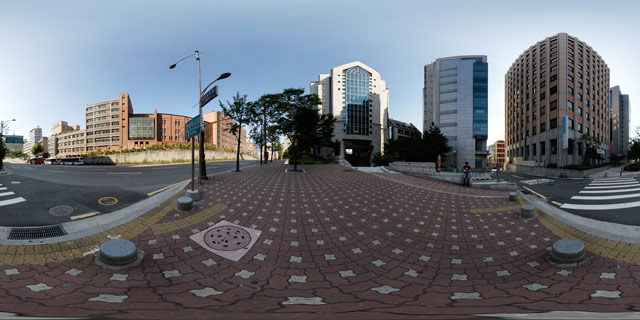
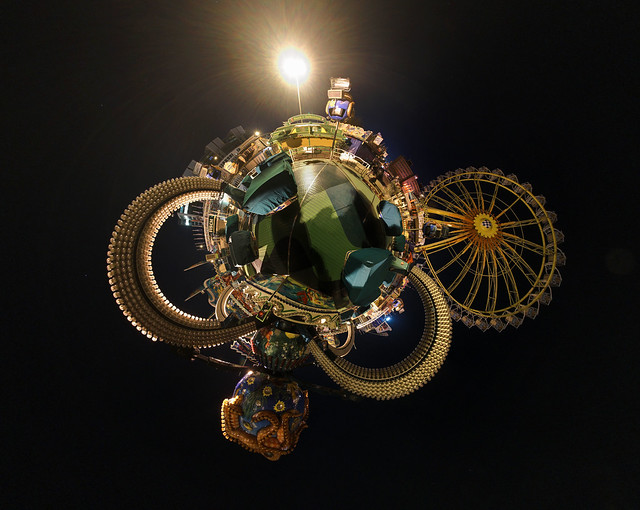
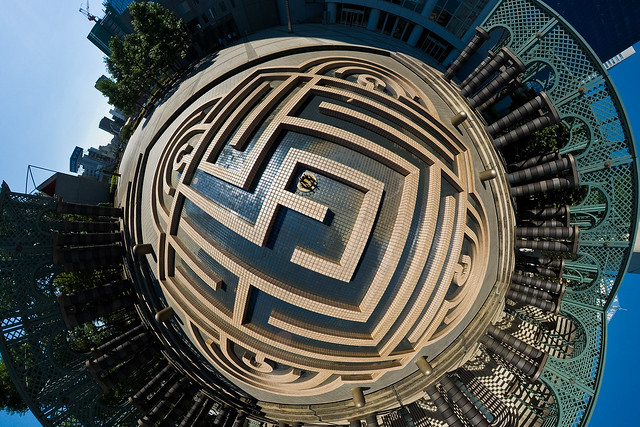
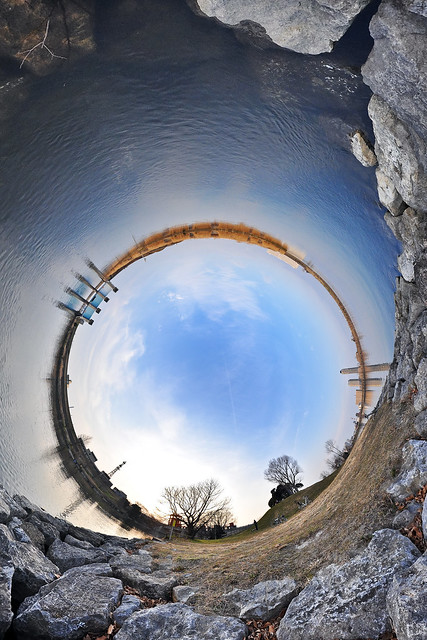
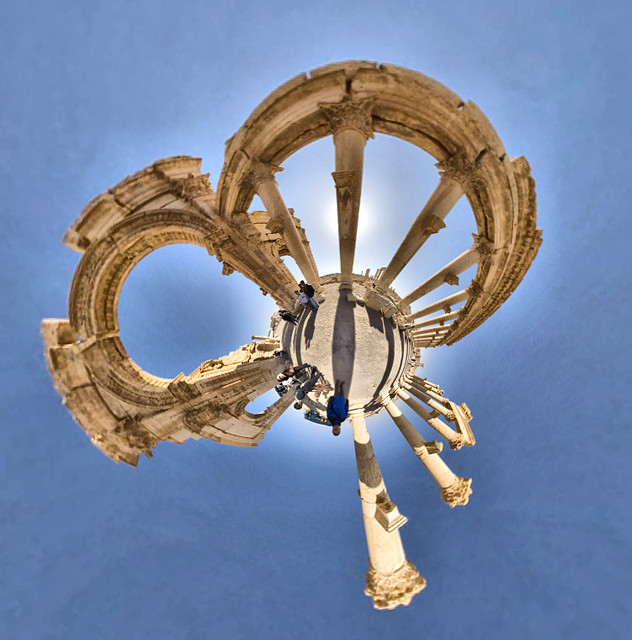
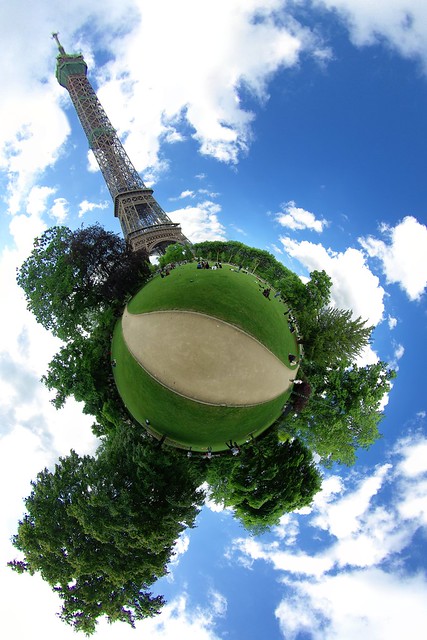
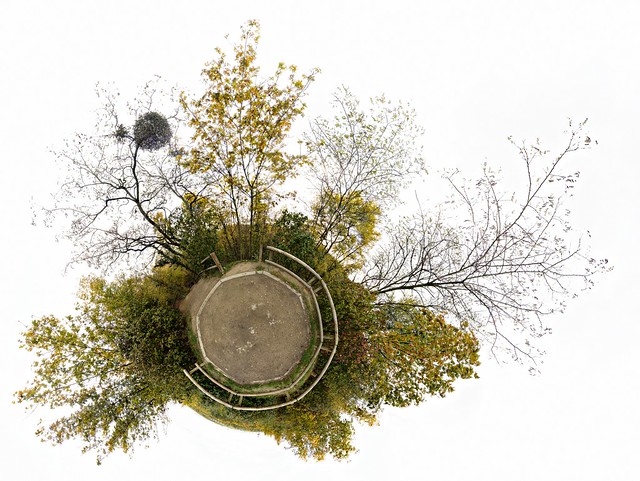
It is another trend in panoramic photography. Planet photography is also known as Polar Panoramic Photography, Mini-Planet and Stereographic Planet. It uses panoramic shots, digital manipulated, to make a photo of planet. I find it very amusing to see what we can do with photos these days. I'm really into it so i tried to make some with the use of panoramic shots i found in the internet. For educational purposes, i grabbed some photos and tried which works best for this technique. Here's one of my favorites and i decided to make a 3-step tutorial out of it.


First, you have to take a nice panoramic shot of your subject. This works best for 360° panoramas like this photo by 360vrs.com. You can see the photo here. Disclaimer! I don't own the photo so don't use it for commercial purposes. :D Download the image and open the image in Adobe Photoshop. Or, you can copy the image below (right click > copy image) make a new document (cltr+n > OK) and paste (ctrl+v).


Next, resize the image so that the width is the same as its height. Go to Image > Image Size or press Ctrl+Alt+I. Uncheck "Constraint Proportions" and change the width and height to your desired size. 600 will do for now. It will look like this.


Rotate the image 180 degrees (Image > Rotate > 180°). By now your image will look like this.


And finally, go to Filter > Distort > Polar Coordinates. Make sure that the "Rectangular to Polar" is selected and click OK. You will have the final output like this.


Awesome, right? You can try doing this to other photos by googling "Panorama" or "Panoramic Photos" or you can be more specific. Not all photos are perfect for planet photography, though. You have to consider some these things. Take the image below as an example.

As you can see in the center, the edges were not seamlessly stitched. So to fix this, you can do some improvisation. Below is the original photo of the panoramic shot above. I copied the image and pasted it in photoshop so it will be a separate layer from the background.


First, i used the rectangular marquee tool (M) and selected a portion of the left edge. You can also do it in the other side.


Then, i cut the selection (ctrl+x) and pasted it above the layer (ctrl+v). It will look like this.


Next, i moved the original image to the left so it will touch the edge. Then, i moved the pasted edge to the other side covering the edge of the other layer like so.


Then i used the eraser tool (soft round 100 pixels) to blend the top layer.


Afterwards, i cropped the white space.


Then, i did the three steps to make the "planet." Here's the output.


However, the shape is irregular and the clouds are not clean. I used the liquify tool to fix it the shape and brushed the clouds. And finally, i added some air balloons and a plane with lens flare for a dramatic effect. :D Here's the final output.


Here are more of my experiments of photos i found in the web.


And here are awesome works i found in the web:


Thanks for reading my post. Here are some links about Planet Photography that you might want to explore:

Stunning Planet Photography by Best Bookmarks
Tiny Planet Photography
360VRs

Tilt-Shift Effect

7:41 AM
Recently, i have been noticing a trend in photography that make photos look like a macro photography. I was really confused with what i have been looking at. I am not sure if its a miniature or just a camera trick by manipulating the use of lens. I did some research and i found out the this macro-esque look can be achieved by the process called tilt-shifting. Tilt-shifting is a technique that makes life-sized object look like a miniature giving an optical illusion similar to a macro photo. This can be done digitally. First the photo is taken in a perspective like how we see miniature models of houses. By tilting the camera or simply taking the shot in a higher location, we get a bird's eye view of the subject. Usually, tilt shift technique requires three parts - the background, the subject and the foreground. By blurring out the background and the foreground, the focal point is in the subject like what we do in macro photography. And to give it a freshly-painted miniature look, the saturation and contrast is increased. Instead of contrast, you can also adjust the curves. Here are some of my experiments using the tilt shift effect.

The red roof is the city's fire department.
I took these shots at the roof top of Marcian Business Hotel.

Firetrucks looked like toys right?

This is at the Canatuan Mining site which i shared in my previous post.

This technique really amused me. Here are some nice links that you can check out to learn more about Tilt-Shift Photography:

If you liked this post and you tried some tilt-shifting, i wanna see it! Just comment the link. I will really appreciate it! :D

HDR Effect in Photoshop

10:34 PM
Recently, I discovered this club in deviant art for HDR photographers and digital artists. I was amused when I saw their gallery. The photos were stunning and it looks kinda surreal. It's kinda hard to explain so here's a few quote's from wiki "high dynamic range imaging (HDRI or just HDR) is a set of techniques that allow a greater dynamic range of luminances between light and dark areas of a scene than normal digital imaging techniques or photographic prints. This wider dynamic range allows HDR images to represent more accurately the wide range of intensity levels found in real scenes ranging from direct sunlight to faint starlight." Here are some photos that I tweaked to have this HDR look that I was talking about.


I also made an action for photoshop in case you want to see how your photos would look like with the HDR effect. Click here to download the file. After downloading, open your image in photoshop. Then, go to the actions window (Windows > Action or alt+f9). In the upper right hand corner of the palette is a small arrow ( or ). Click Load Action. Locate the action in the dialog box and click OK. Now, you can see the HDR folder in the actions palette. Click the arrow to show the actions of the folder. There are three actions. First, choose the HDR Effect. Click the play button at the bottom of the pallette. Wait for a few seconds and see the results. Here is a sample of what it will look like before and after the action is applied.


Results may vary depending on your photo. It also works best in dark landscapes like the one that I used above. When I used portraits, the results are very vivid so I created the Desaturate action. If you think the colors are too saturated, use this action as many times as you want. If you want to have a retro look, you can use the Retro color action. Here's the result when I applied the action to the last photo above.

Isn't it cool? I wonder how your photos will look like if you use the actions. Contact me or a post a link of your work. For more photos, check out my multiply site here.

More on HDR:
Magic of HDRI
HDR Photoshop Effect
Wiki: HDR

Making a Planet

1:24 PM
Last tuesday, May 5, 2009, i gave my photoshop class an exercise on using the basic tools, effects and filters of photoshop. We made our own version of our planets with the guide of this wonderful tutorial by Greg Martin. Some made beautiful world of their own and some looked flat like a pizza. Afterwards, we also created a starfield with the help of this tutorial. If you want to create your own planet, just click on the link and follow the simple tutorial. Here are some of the outputs including mine.

My planet! Blue as usual!


Ira Jandel's Planet. Green!


by Keighley. Looks like mars eh!


Ayami's version of earth...

Visit my multiply site for more...
Powered by Blogger.